<span style="color: black;"><span style="font-family: Verdana;">About a month ago I decided to fabricate an Algae Turf Scrubber after researching the application of ATS’s in many commercial facilities. The driver was that I prefer to feed my fish well and I had some hair algae building up in my DTs. It is pretty much an elaborate experiment for me, but worth it in the end if it improves my water quality. If this keeps me out of gfo or bio pellets – mission accomplished. I figured I’d post pics of my whole process in case anyone else was interested in ATS’s. </span></span>
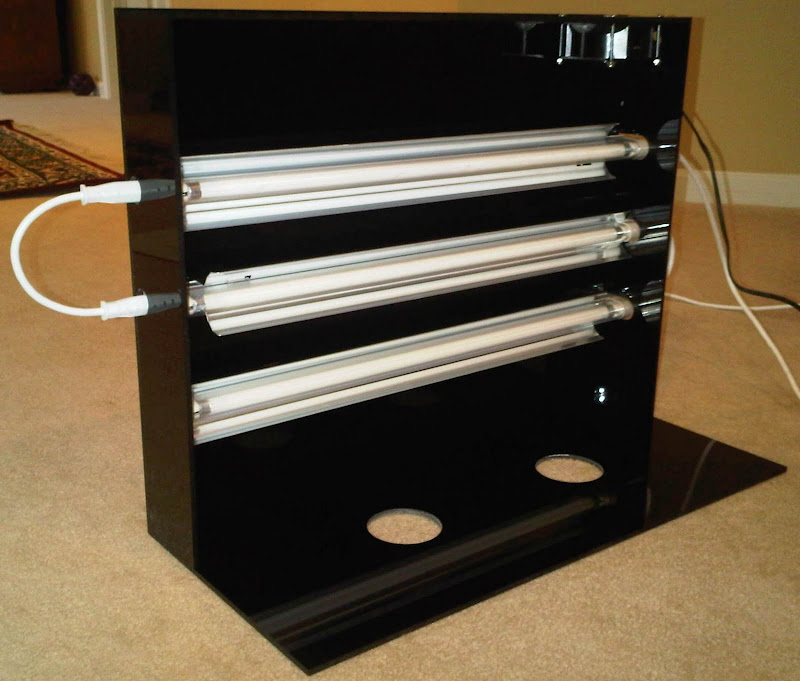
<span style="color: black;"><span style="font-family: Verdana;">The specs are 24”L x 11”W x 18”H with six 24w T5HO lights and 2 exhaust fans. I used ¼” black acrylic for the housing. The wet box's 23” x 16” screen is fed via ¾” pvc and has two 1” drains. Estimating flow into the wet box is around 600gph. You can see the pass through holes for the bulkheads cut in the bottom of the dry box. Below are some pics of the “dry box” … some when it was half built (better view of the interior) and the rest of the pics after it was completed. Pics of the “wet box” and total setup are further down.</span></span>
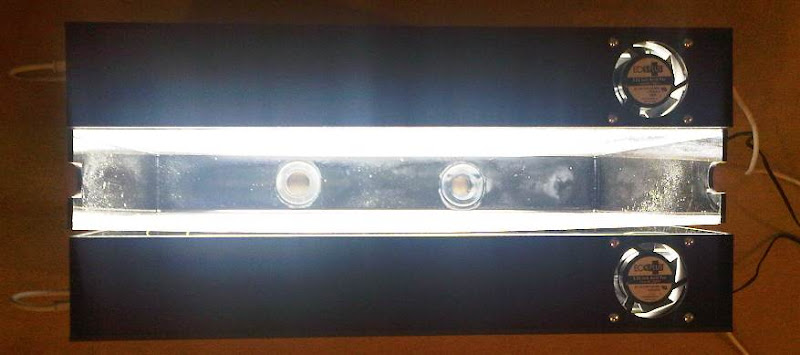
<span style="font-family: Verdana;"><span style="color: black;">A shot of the dry box half built - can get a good view of the inside before I completed the other side.</span></span>
<span style="color: black;"><span style="font-family: Verdana;">
 alt="" /></span></span>
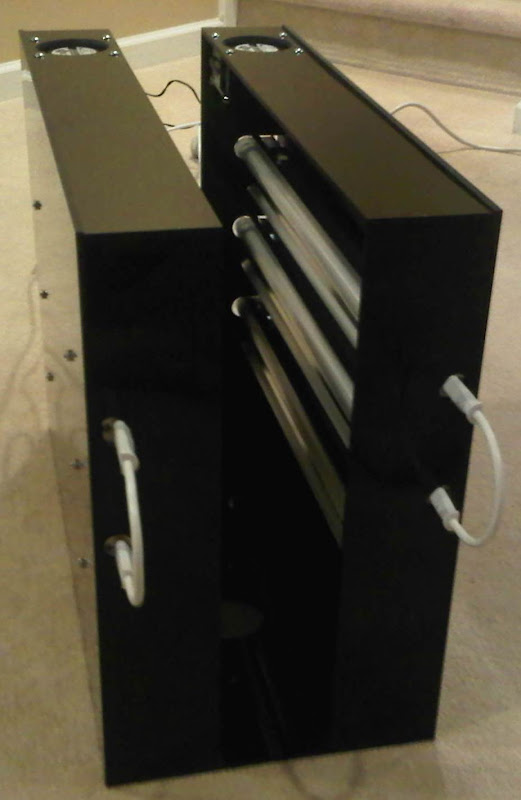
<span style="font-family: Verdana;"><span style="color: black;">End view of completed dry box - lights off</span></span>
<span style="font-family: Verdana;"><span style="color: black;">
 alt="" /></span></span>
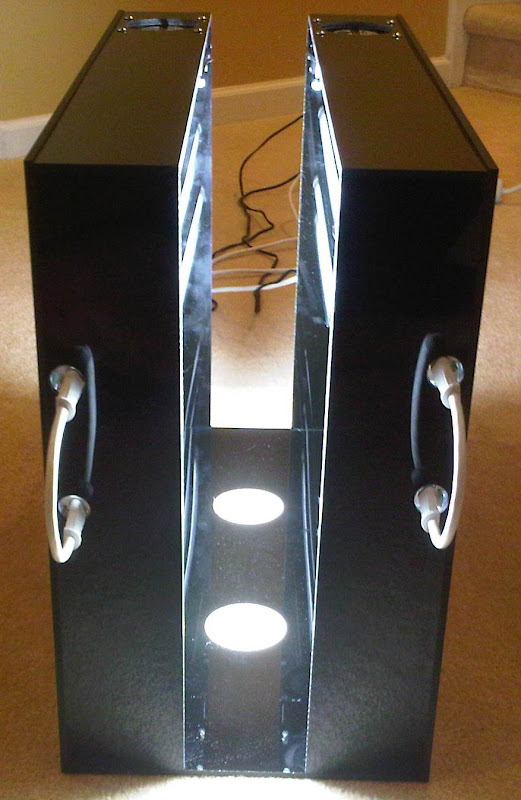
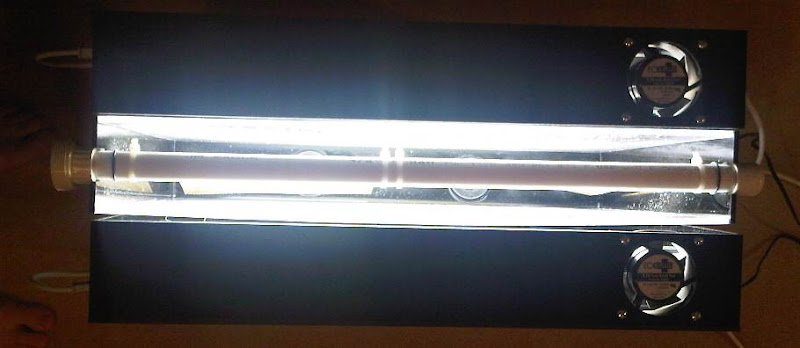
<span style="font-family: Verdana;"><span style="color: black;">End view lights on</span></span>
<span style="font-family: Verdana;"><span style="color: black;">
 alt="" /></span></span>
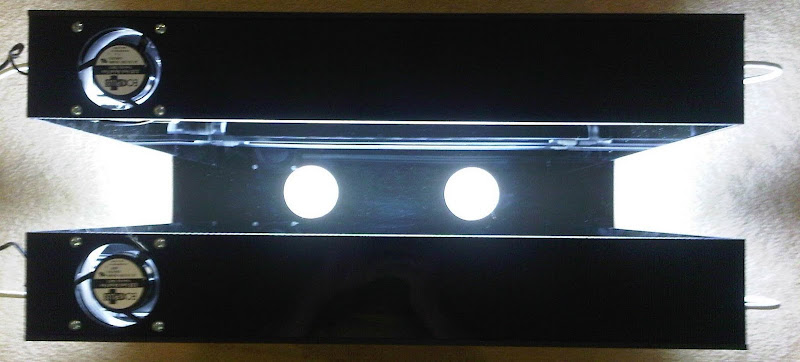
<span style="color: black;"><span style="font-family: Verdana;">top view - lights on</span></span>
<span style="color: black;"><span style="font-family: Verdana;">
 alt="" /></span></span>
<span style="color: black;"><span style="font-family: Verdana;">Overhead shot with the wet box sitting inside the dry box. You can see the two 1" bulk heads on the bottom. Spray bar & mesh are out of this shot.</span></span>
<span style="font-family: Verdana;"><span style="color: black;">
 alt="" /></span></span>
<span style="font-family: Verdana;"><span style="color: black;">Here the spray bar and mesh are inserted. The top lid and closing latch are not installed.</span></span>
<span style="font-family: Verdana;"><span style="color: black;">
 alt="" /></span></span>
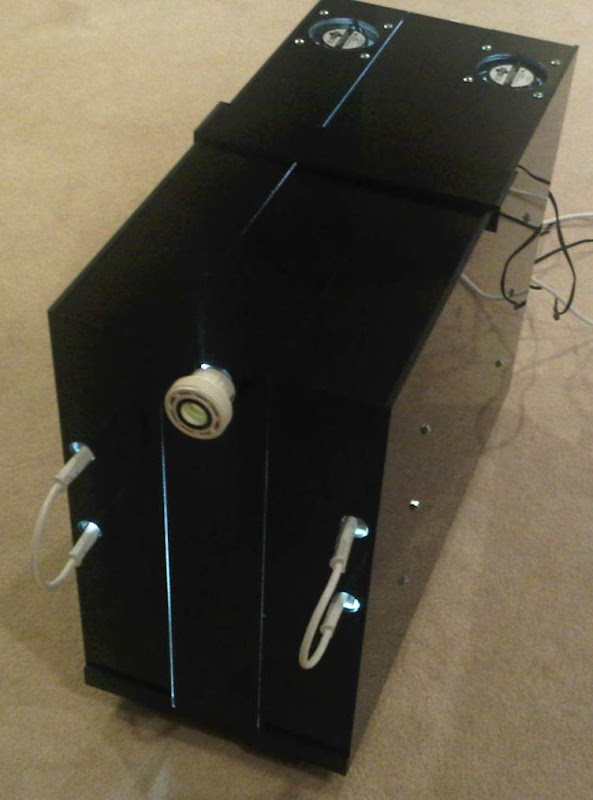
<span style="font-family: Verdana;"><span style="color: black;">Here's a shot with it fully assembled as it runs (minus the union attached to the spray bar). I added a latch on the top in the middle that wasn't part of the original design. It was added to ensure the wet & dry box stay tightly together. A big goal of my design was to keep the light as contained as possible, so I can run this off photo-period from my DT (help keep Ph up at night). I have other tanks in my sump room with clown pairs and growing juveniles, so I don't want to light them up all night. ATS lights run 8pm - 2pm.</span></span>
<span style="font-family: Verdana;"><span style="color: black;">
 alt="" /></span></span>
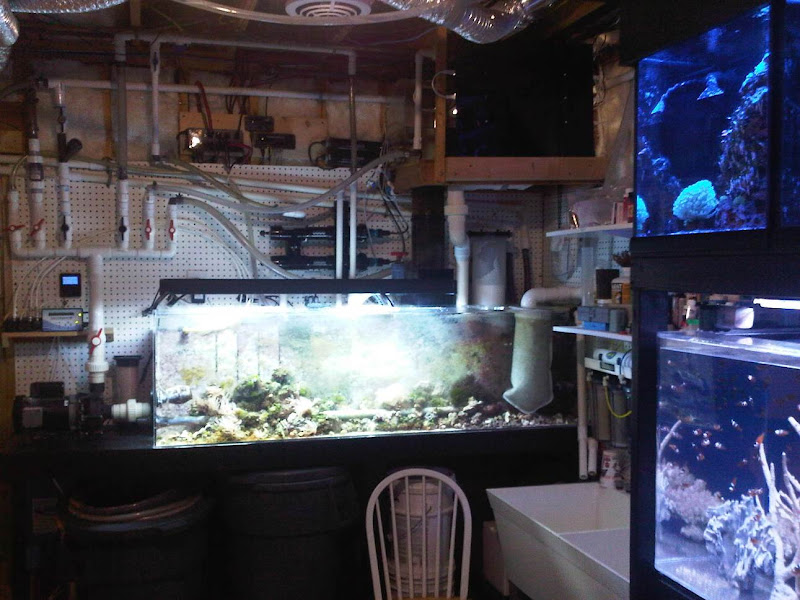
<span style="font-family: Verdana;"><span style="color: black;">Here's a shot with it installed above my sump running. As you can see it is tight, but works as designed (top of pic, just right of center). It is fed from one of my manifold valves off of my main hammerhead pump.</span></span>
<span style="font-family: Verdana;"><span style="color: black;">
 alt="" /></span></span>
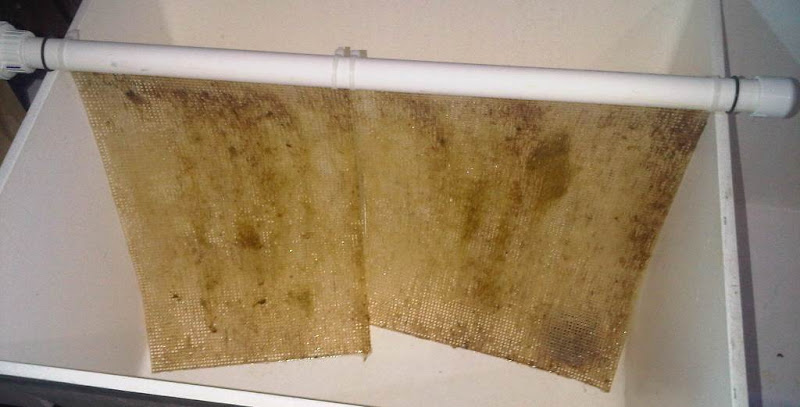
<span style="font-family: Verdana;"><span style="color: black;">Final shot of my mesh after 2 weeks. I did "seed" it with some algae that was growing in one of my tanks. Pretty much smeared it all over. No way to really tell if it accelerated the process since I don't have a "control" screen that I did not do this to, but logic leads me to believe it helped speed up the growth. I've got a ways to go before the algae gets to a mass that is affecting my water quality.</span></span>
<span style="font-family: Verdana;"><span style="color: black;">
 alt="" /></span></span>
<span style="font-family: Verdana;"><span style="color: black;">I'll post pics of the mesh further down the road.</span></span>
<span style="color: black;"><span style="font-family: Verdana;">The specs are 24”L x 11”W x 18”H with six 24w T5HO lights and 2 exhaust fans. I used ¼” black acrylic for the housing. The wet box's 23” x 16” screen is fed via ¾” pvc and has two 1” drains. Estimating flow into the wet box is around 600gph. You can see the pass through holes for the bulkheads cut in the bottom of the dry box. Below are some pics of the “dry box” … some when it was half built (better view of the interior) and the rest of the pics after it was completed. Pics of the “wet box” and total setup are further down.</span></span>
<span style="font-family: Verdana;"><span style="color: black;">A shot of the dry box half built - can get a good view of the inside before I completed the other side.</span></span>
<span style="color: black;"><span style="font-family: Verdana;">
<span style="font-family: Verdana;"><span style="color: black;">End view of completed dry box - lights off</span></span>
<span style="font-family: Verdana;"><span style="color: black;">
<span style="font-family: Verdana;"><span style="color: black;">End view lights on</span></span>
<span style="font-family: Verdana;"><span style="color: black;">
<span style="color: black;"><span style="font-family: Verdana;">top view - lights on</span></span>
<span style="color: black;"><span style="font-family: Verdana;">
<span style="color: black;"><span style="font-family: Verdana;">Overhead shot with the wet box sitting inside the dry box. You can see the two 1" bulk heads on the bottom. Spray bar & mesh are out of this shot.</span></span>
<span style="font-family: Verdana;"><span style="color: black;">
<span style="font-family: Verdana;"><span style="color: black;">Here the spray bar and mesh are inserted. The top lid and closing latch are not installed.</span></span>
<span style="font-family: Verdana;"><span style="color: black;">
<span style="font-family: Verdana;"><span style="color: black;">Here's a shot with it fully assembled as it runs (minus the union attached to the spray bar). I added a latch on the top in the middle that wasn't part of the original design. It was added to ensure the wet & dry box stay tightly together. A big goal of my design was to keep the light as contained as possible, so I can run this off photo-period from my DT (help keep Ph up at night). I have other tanks in my sump room with clown pairs and growing juveniles, so I don't want to light them up all night. ATS lights run 8pm - 2pm.</span></span>
<span style="font-family: Verdana;"><span style="color: black;">
<span style="font-family: Verdana;"><span style="color: black;">Here's a shot with it installed above my sump running. As you can see it is tight, but works as designed (top of pic, just right of center). It is fed from one of my manifold valves off of my main hammerhead pump.</span></span>
<span style="font-family: Verdana;"><span style="color: black;">
<span style="font-family: Verdana;"><span style="color: black;">Final shot of my mesh after 2 weeks. I did "seed" it with some algae that was growing in one of my tanks. Pretty much smeared it all over. No way to really tell if it accelerated the process since I don't have a "control" screen that I did not do this to, but logic leads me to believe it helped speed up the growth. I've got a ways to go before the algae gets to a mass that is affecting my water quality.</span></span>
<span style="font-family: Verdana;"><span style="color: black;">
<span style="font-family: Verdana;"><span style="color: black;">I'll post pics of the mesh further down the road.</span></span>

")