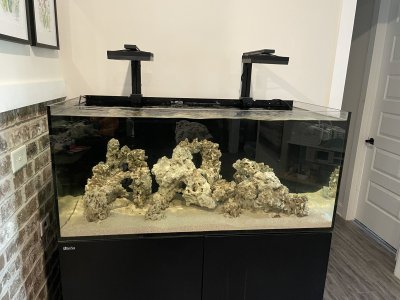
I’m getting back into the hobby. When we moved from Atlanta to Pine Mountain we were scammed out of our old tank. Long story there for a whole different thread. Over the summer my friend offered us a “free tank” and it has escalated from there. This time we have been able to go a little bit crazy with the build and I’m super excited to share it!
Have you ever read the book “If you give a mouse a cookie” about how one task snowballs into a whole adventure? This is absolutely how the build has gone.
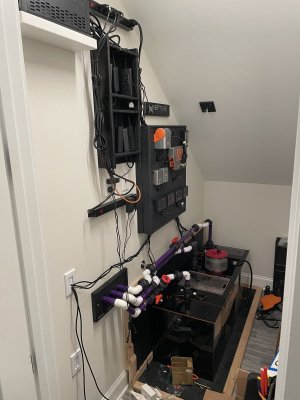
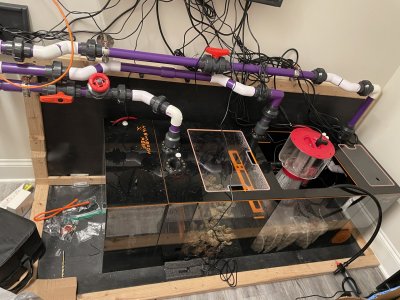
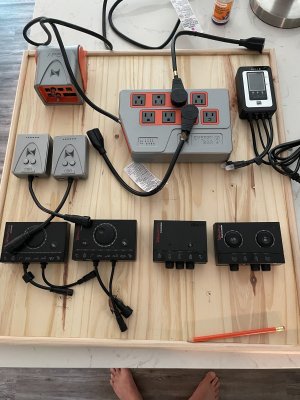
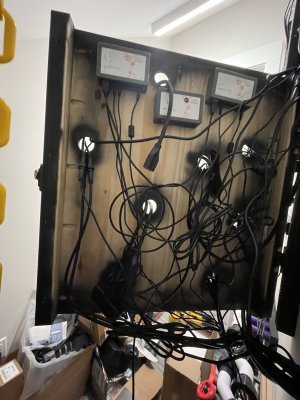
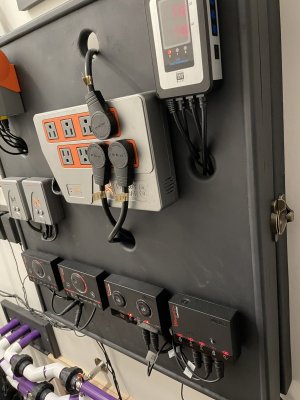
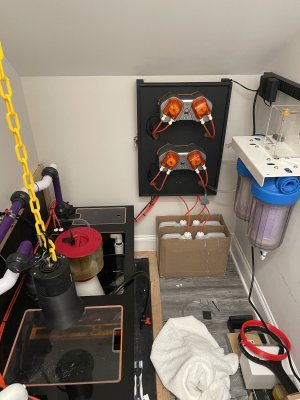
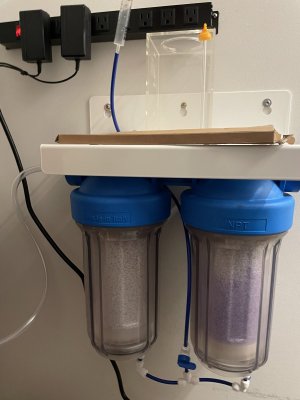
The thing I hated the most with previous tanks was maintenance. Big shocker right? So, I figured if I must do it, I might as well make it easy on myself and have plenty of room to work. I ditched the Red Sea sump and decided to make a fish room behind the wall instead. After some minor stand modifications and some big conversions from the metric drains to standard, I had the pipes sent through the wall. They go into a Synergy Reef Sump and I’ve been building custom controller boards to keep things tidy.
I still have plenty more to build, but the basics are in so we could begin letting the nitrogen and biome cycles start to do their things. Next up is mounting and plumbing the two Dos units for running Triton Core7. I’m happy to share details, as there have been a ton of stories throughout this build.

