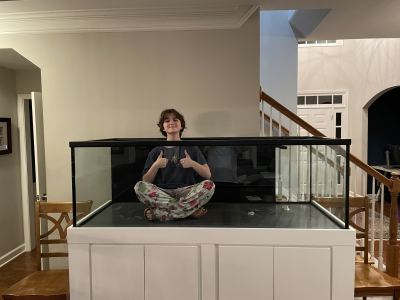
I finally have my 215 Gallon tank filled with water and running. I had to get this kid out of the tank to fill it up.
I have endured a lot in this build that was interrupted by my knee replacement surgery. Here is a video of the tank filled with water:
The tank is a used Planet Aquarium that another ARC member had previously, it is 72" X 30" X 25". I removed about a foot of the vinyl background on the right so I can look through it from the front door. I like this a lot.
The build included:
Getting my floor reinforced to support the weight. It was really hard to find people to even quote this and took forever and was expensive.
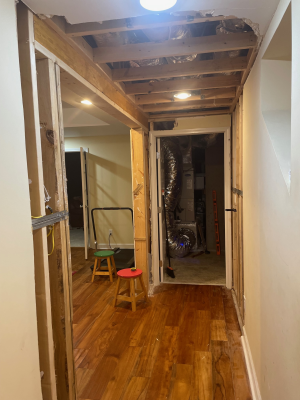
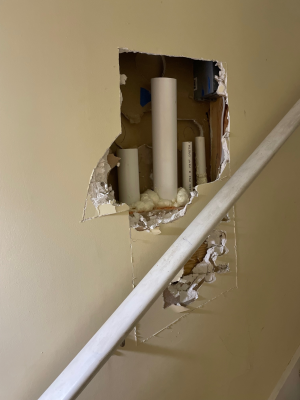
Hard plumbing the returns and drains to the basement was a nightmare for a measure once cut 4 times kinda guy. I will likely not be proudly showing my plumbing off to my youtube channel, lol.
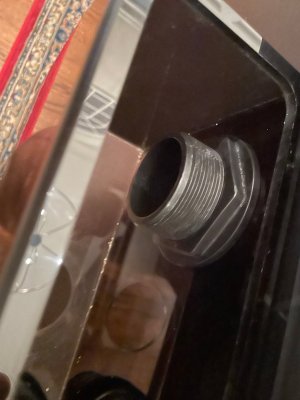
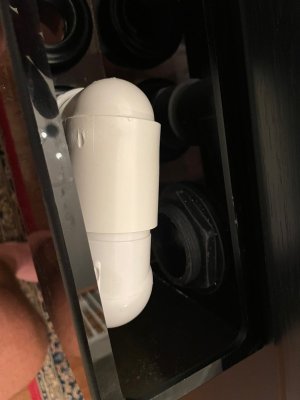
Here is a picture of one of my failed drain designs, irregular bends are not your friends with hard plumbing:
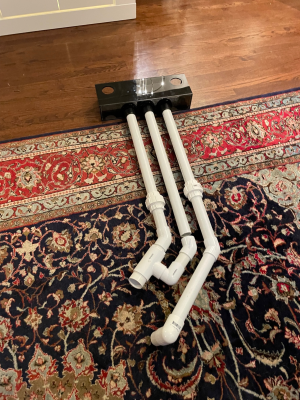
Figuring out how to cut the long bulkheads on the Tideline overflow so that I can fit the bean animal overflow parts in, I am not sure why they use long ones when short bulkheads would work. I used a hacksaw at the suggest of Gene at Pure Reef. Without this hack you just can't fit anything in here and would end up with a loud overflow, it is working well and very quiet.
Building a stand for the new Geo Reef Sump for less than $50 in wood
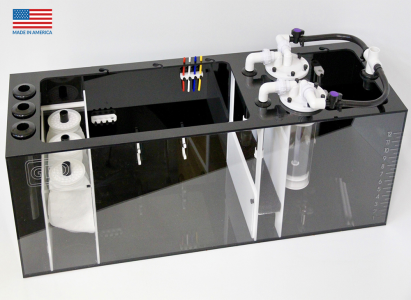
Plumbing the Sump so that a 1.5" drain splits to the 3 X 1" drains on the sump.
Drilling the GEO Reef acrylic sump so it can gravity drain to my "cryptic sump" (My 95 gallon HDPE trash can)
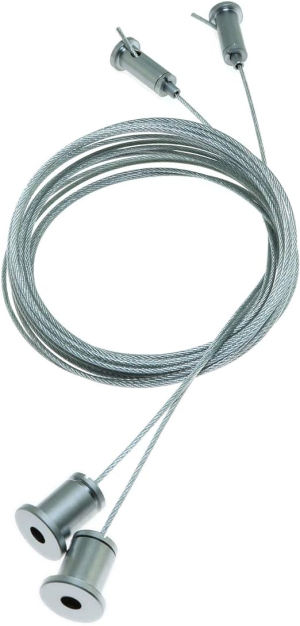
Building a 8020 Light Hanging kit and attaching to the ceiling. I used some of these Longdex Wire suspension cables to make connect it from ceiling to the light rack, adjustable is nice. I hope it holds as I will be hanging 5 AP9Xs from this light rack.
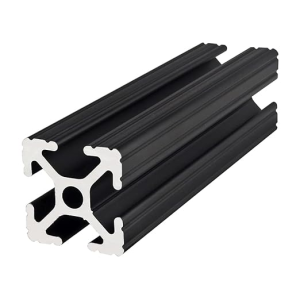
I used the 1" 8020 Aluminum Slot and seems to be plenty to hold the weight of my lights. I will make another video later of this.
Building a couple of new aquascape structures, one NSA and one fish friendly out of marco rock. This was more fun than I would have thought and the method highlighed on BRSTV and Tidal Gardens worked well.
Now I am cycling the tank but I need some advice on whether I should transfer everything over from my 105 gallon tank in one big tank transfer move or go slow? Everything in my 105 is looking and growing awesome so I am more than a bit nervous I am going to kill all the coral if I put it in a new tank. They say the bacteria all comes with the rockscapes all the coral is on but.....still. What do you think?
More pictures and videos to come

I have endured a lot in this build that was interrupted by my knee replacement surgery. Here is a video of the tank filled with water:
The build included:
Getting my floor reinforced to support the weight. It was really hard to find people to even quote this and took forever and was expensive.

Hard plumbing the returns and drains to the basement was a nightmare for a measure once cut 4 times kinda guy. I will likely not be proudly showing my plumbing off to my youtube channel, lol.
Here is a picture of one of my failed drain designs, irregular bends are not your friends with hard plumbing:

Figuring out how to cut the long bulkheads on the Tideline overflow so that I can fit the bean animal overflow parts in, I am not sure why they use long ones when short bulkheads would work. I used a hacksaw at the suggest of Gene at Pure Reef. Without this hack you just can't fit anything in here and would end up with a loud overflow, it is working well and very quiet.


Building a stand for the new Geo Reef Sump for less than $50 in wood
Plumbing the Sump so that a 1.5" drain splits to the 3 X 1" drains on the sump.
Drilling the GEO Reef acrylic sump so it can gravity drain to my "cryptic sump" (My 95 gallon HDPE trash can)

Building a 8020 Light Hanging kit and attaching to the ceiling. I used some of these Longdex Wire suspension cables to make connect it from ceiling to the light rack, adjustable is nice. I hope it holds as I will be hanging 5 AP9Xs from this light rack.
I used the 1" 8020 Aluminum Slot and seems to be plenty to hold the weight of my lights. I will make another video later of this.


Building a couple of new aquascape structures, one NSA and one fish friendly out of marco rock. This was more fun than I would have thought and the method highlighed on BRSTV and Tidal Gardens worked well.
Now I am cycling the tank but I need some advice on whether I should transfer everything over from my 105 gallon tank in one big tank transfer move or go slow? Everything in my 105 is looking and growing awesome so I am more than a bit nervous I am going to kill all the coral if I put it in a new tank. They say the bacteria all comes with the rockscapes all the coral is on but.....still. What do you think?
More pictures and videos to come

