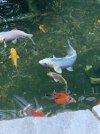
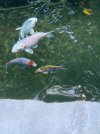
Koi Pond Project - Finished

samsisson

Active Member
Market
Messages
181
Reaction score
148
Location
Temple, GA
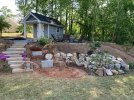
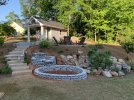
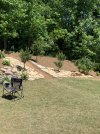
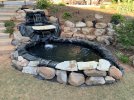
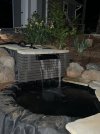
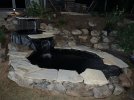
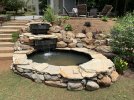
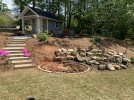
I figured I should document my pond project from last year in case anyone could use what I’ve done for their yard 👍 We had the perfect spot for a waterfall/koi pond next to some concrete stairs in our backyard.
271D9D6C-0416-4E53-A264-7DEE0B269B79.jpeg
Moving the “dirt” (clay/petrified rock) was a pain, so it took several days with a pickaxe to finish it.
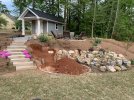
8B29E210-D0B9-4543-87DE-C5AF7312465E.jpegPay close attention to that white spot. I’m still not sure what it was. It was a softer rock; maybe limestone or something.
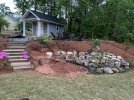
6CA814DF-07E1-459C-8B10-8F6DCC5D7FAE.jpegMore digging. All this time I was taking wheelbarrow loads up that dirt path that you can barely see on the right to dump them.
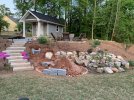
0B4F3371-BF00-424C-9598-9CDBD02088C2.jpeg
4FE31876-58F1-47AA-BD2F-760A8969832C.jpeg
I used some cinder caps to visualize how high the waterfalls would be before I started laying anything down permanently.
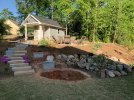
5FE3A88C-6511-499F-8A27-0F58778F94CA.jpeg
Here I finally removed all of the dirt pile that came from up top so I could start digging the main section of the pond (where the fish will be). This was the hardest rock, so we ended up renting a 12” auger to loosen up the majority of it
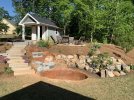
6865F8F7-547A-4D80-B4AD-7F32D689B62F.jpegThis is after tidying up the edges, and adding more caps for visualization of the heights.
 
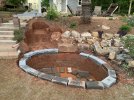
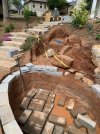
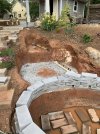
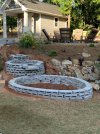
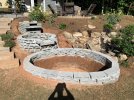
C6E8155D-4B39-4C28-9353-F124F1C9570C.jpegI finally got to laying down the cinder blocks. I went with half blocks so that I could get a more natural shape. My goal for the bottom was to raise the water line up as much as possible, so that when I sat next to the water the fish would be closer
83C33F77-DF0F-490D-949E-94463F666049.jpeg
I thought about keeping this boulder in place, but I figured it would make the cinder blocks stronger if I had them connect back to themselves. It worked out, because this rock looked really good somewhere else later on.
 
7DCBB406-164E-473A-B045-69FA5C95BFD1.jpeg
6EBC201F-53A2-446E-9F78-D62571D8C962.jpeg
BF1A0099-8E6F-4603-B200-64A343BCC21E.jpeg
3B2F6C7B-38DB-4828-81ED-36924D251FF0.jpegLaying the blocks was slow moving, because I wanted each one to be level side to side and front to back. It really paid off though when I added some flagstone pieces on the tops later.
 
A quick thing to note before showing this next part is that I poured a slab of concrete in the bottom of the lowest section so I could float it completely flat, and then I got a load of sand to put on top of the concrete for protection against holes
 
In the middle section I just used gravel, and the leftover mortar from the masonry work to make the floor; I added the sand on top of that as well.
 
6ECFBA8E-332B-4080-84B4-6D7073E31ED9.jpeg453B6D24-96A8-47C8-80B9-3248842753CA.jpeg
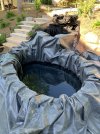
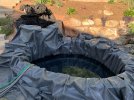
In the top of the pictures you can see the fabric underlayment that serves as a barrier between the blocks and the firestone liners.
80DBCDA1-695A-4D94-A52F-D60FCE56741B.jpeg2E262176-8F47-4A86-AA63-7E20A2F8C362.jpeg
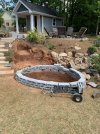
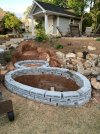
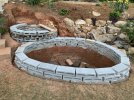
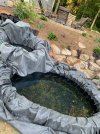
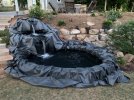
Here are all of the chambers filled up with the pump running. The whole system is about 1,200 gallons!
 
12AF0C75-494E-497A-939D-2223B0FB5627.jpegB76B3A65-DC0B-4EF3-BAAB-A7E7AA04DCDB.jpegD70753ED-20CC-47B8-A333-9B2330082AE1.jpeg
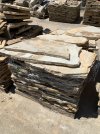
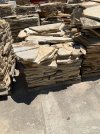
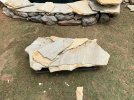
This is some of the flagstone that I was choosing from for this project. The last picture is all of it laid out on our hill so they wouldn’t kill the grass
AEAE381A-19A3-4AC0-9737-7876CB17B1E0.jpeg
This is where the fun begins 😎
 
253024F6-A37C-40E6-9776-971081C0D6A7.jpeg
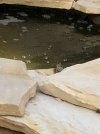
Already started to get some visitors 😂
3E26FC02-9458-476E-BB73-DF00F47E071F.jpegCE3E136A-AD60-4566-843E-250191AF3433.jpeg
I made some faux wood boxes out of some pvc board that I spray painted (and ended up flex sealing later when the paint started to chip). They turned out pretty nice!
19CD466E-02C3-4075-A3DC-714B82418C4B.jpeg
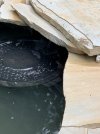
This is a “car port” made out of pvc pipe with a flagstone top to give the fish somewhere to hide. They LOVE this thing
 
7993DBDF-46FE-4EF1-B86D-1A1E6A433DEA.jpeg
Rock work is mostly finished6C684CF6-FBCF-49C4-9877-8AF0DFAC0A14.jpeg
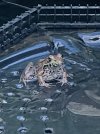
King of the pond 😁
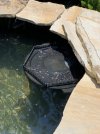
8B61ECDF-2FD3-4EC3-A5BB-B15B73E74874.jpeg18556ACF-50C8-4A56-8F77-FD193688B0F8.jpegHere he is again on the weir, which is just a black brute trashcan with holes drilled in the lid, and filled with pea gravel to weigh it down 😅 it works surprisingly well, and isn’t an eyesore with the flagstone over the top of it 👌
15302850-D207-40FB-A4DD-03022F7ED69B.jpeg
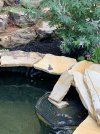
I made him a ramp so he could get out (he was there for a couple weeks and it was starting to worry me)
FC3E1018-F72C-4D43-9FAF-9DB65252B0AB.jpegThe fence around the weir is just eggcrate that’s zip tied together. I had little goldfish in it at this point, and this kept them from flopping onto the top of it (no fish were harmed in the making of this pond 😳)
7CBBBCFA-F110-43EE-BA89-649973606759.jpegBF866344-095A-4423-8440-534FD3358176.jpeg
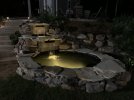
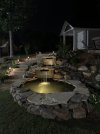
Added some lights so we could appreciate it at night 👍
 
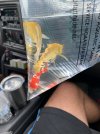
FE497142-D97D-43BC-AEDC-483BC8658962.jpeg4114979D-2225-4083-BE06-3F0E49EAE0A2.jpegThese are about the size of all of the fish that we added. They grew fast!CB781BC1-4532-4564-A260-1259D0CE3DC5.jpegA4C79635-A3F5-45FF-A89C-7BA41CBE2250.jpeg5569661A-8449-4252-BA06-5441A6540F7D.jpegF53141D5-7F1E-44BB-882C-ADDBDAFD3B4A.jpeg034D9FE5-1166-4A78-AF40-4757F96ED739.jpeg
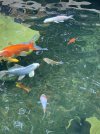
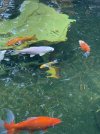
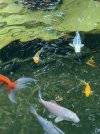
The big koi in these pictures were the same size as the yellows in the previous pictures when we got them, and this was just a few months after that! (Still almost a year ago) they’re huge now! I’ll have to get some more recent pictures of all of our fish and post them here
 
I used a 5 gallon bucket filled with some filter floss and sponges and some lava rock around it in the highest chamber, and then added pond beneficial bacteria way before adding any fish. I also run a huge jebao uv sterilizer in the return line. The project was super fun and only cost maybe $1.5-2k (mainly in the rock and liners). Let me know if you have any questions and I’ll gladly answer them!
 
Back
Top